The Control Room interface is made up of only a few elements.
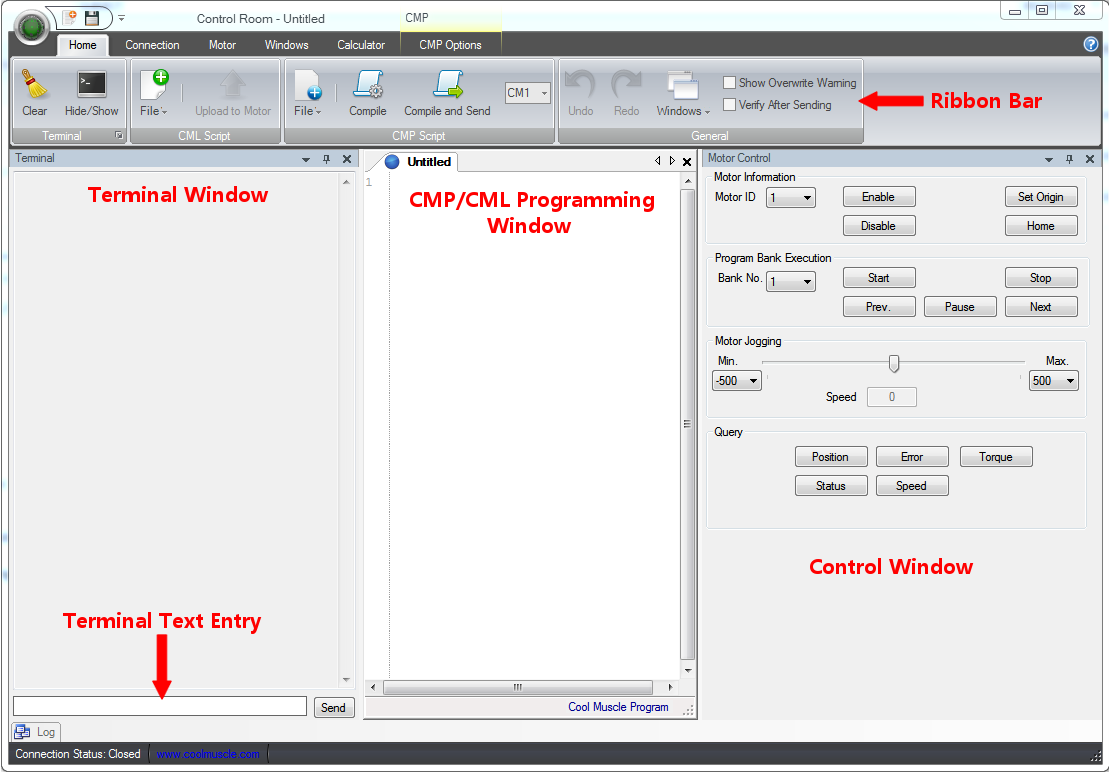
Fig. 15 - Control Room User Interface
Ribbon Bar
The Ribbon bar along the top of the program is similar to most other Windows software in that this is where you will find the shortcuts to the majority of the functions of the program. This is where most of the important elements will be found. There are 6 different ribbons available from the tabs along the top.
Home

The Home ribbon contains most of the basic functions you will need. The first two buttons allow you to clear any text from the terminal window, or show/hide the terminal window. The next two sections allow you to create a new file or upload a file to a motor, depending on whether you are editing a CMP file or a CML file. For more information on this, see CML vs. CMP. The final section are some general options, such as undo and redo, as well as the window button which allows you to open or close windows individually. There are also two selection boxes: the top one allows you to select to show a warning when overwriting a program on a motor, as well as an option to have the software verify a program after it is sent to the motor to ensure that everything was received correctly.
Connection

In order to connect to a motor via TCP/IP using an IPX module, you can enter the IP address if it is known and press connect to IP. If the IP address is dynamic or unknown, you can also search for the IP as long as it is on the same network as the computer. Selecting web configuration will allow you access to the advanced configuration menu of the IPX module. You should not need to edit these options by default.
Windows
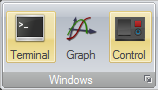
Terminal
The terminal window is the main path of communication for messages sent from and to the motor. Any information transmitted from the motor will appear in the terminal window. You can also use the terminal text entry to send single line commands to the motor, one at a time. If you want to query anything from the motor, you can send that command here and the response from the motor will be displayed in the above terminal window.
Graph
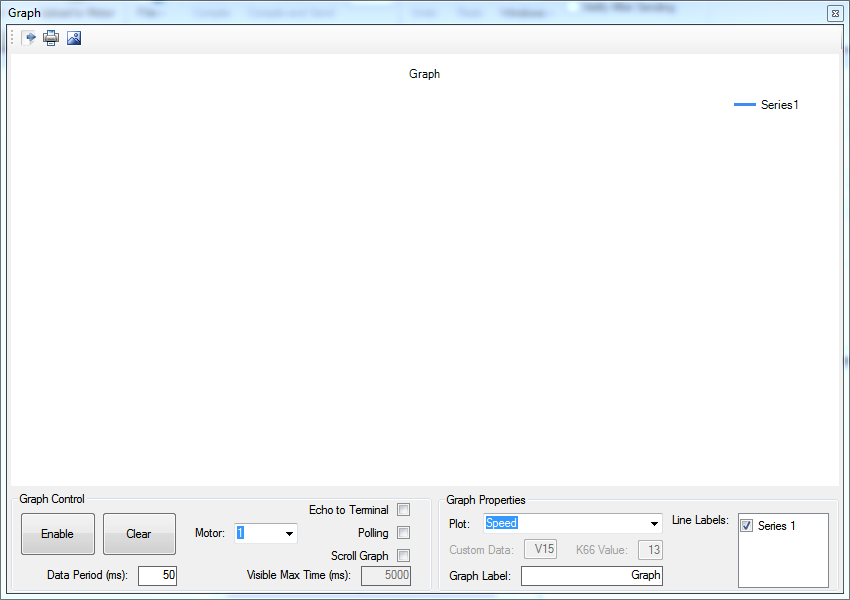
In the top left corner of the graph window, you can also outputs the graph as an image, print the graph, or output the graph as a set of comma separated values for use in a spreadsheet program.
Control

CMP/CML
The CMP/CML window is window that you will probably spend the most time in. This is the area in which you will write any programs to be downloaded to a motor. The text size in the window can be changed by holding in the CTRL key and moving the mouse wheel up or down. In the case of a CMP window, this will also allow you to write comments, named variables and other advanced functions of a CMP program. For more details, see CML vs. CMP.
Calculator
CMP/CML Options


Overview
Content Tools